First a little background…
These are my machines, a Brother LS-something that gathers lots of dust, and the ancient Montgomery Wards straight stitch machine(it is a Happy built in Japan).Now you know what machines I’m having to deal with at the moment so bear with my strange stitching mistakes. The Mont.Ward seems to be a little weird with stitch count and thread tension.
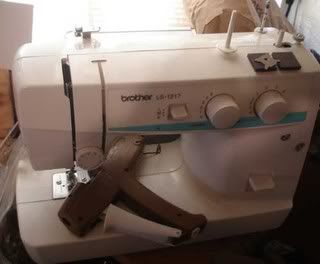
These are my machines, a Brother LS-something that gathers lots of dust, and the ancient Montgomery Wards straight stitch machine(it is a Happy built in Japan).Now you know what machines I’m having to deal with at the moment so bear with my strange stitching mistakes. The Mont.Ward seems to be a little weird with stitch count and thread tension.
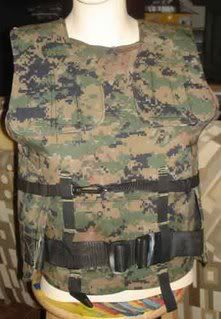
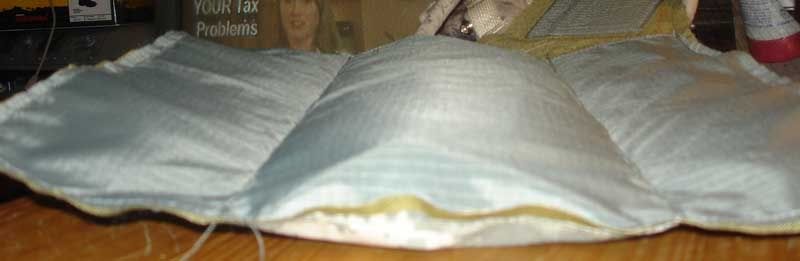
So heres the first thing I ever made, I hadn’t found the forum yet, and made this veeeeery retaaarded vest.(sometimes I let someone wear it that I don’t like)
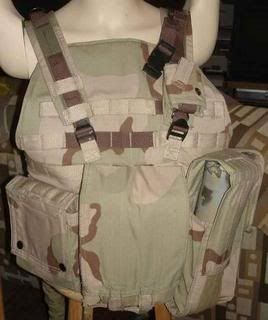
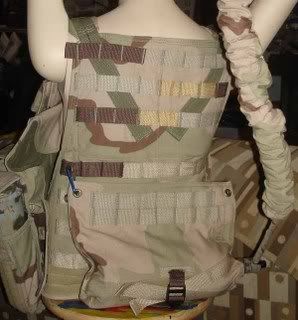
I finished the last piece of this next vest when I found the forum. I still only had the Brother so its made of light material and has some "eh hem" interesting stitches.Consider it a mock-up if I ever find some 3 color desert cordura. Thing I like about it are the fold down front for when its hot, and i have a peculiar interest in camouflaging my PAL webbing. Please ignore the ugly gold webbing and let me know what you think about using different colors of webbing and/or ways of stitching them together.
OK. Now I have found you all here, and have started sucking your brains. I picked up the Mont.Ward machine now I can get through some cordura w/#69 thread(haven’t tried 92 yet don’t think i will till i get a real machine).
I got some buddies of mine to pay for supplies and in return am making paint ball vests.
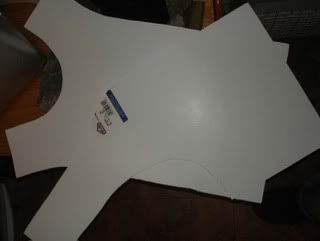
For starters we picked out some tactical vests online that had the shape we wanted.I made these poster board stencils from measurements eyed out from the pal grid on the vest we liked.One for the back and one for the 2 front pieces.
I got some buddies of mine to pay for supplies and in return am making paint ball vests.
For starters we picked out some tactical vests online that had the shape we wanted.I made these poster board stencils from measurements eyed out from the pal grid on the vest we liked.One for the back and one for the 2 front pieces.
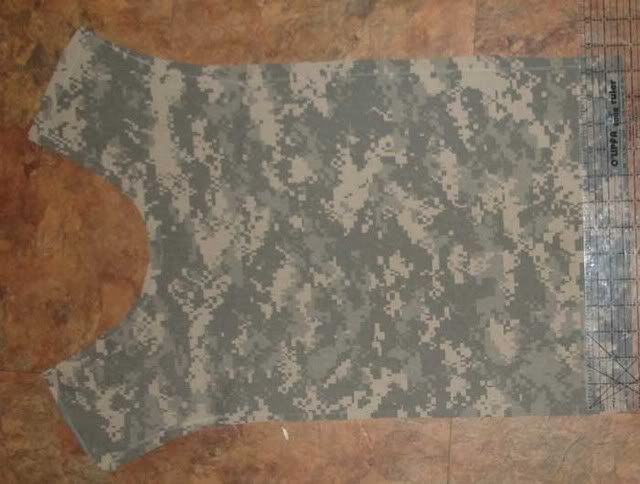
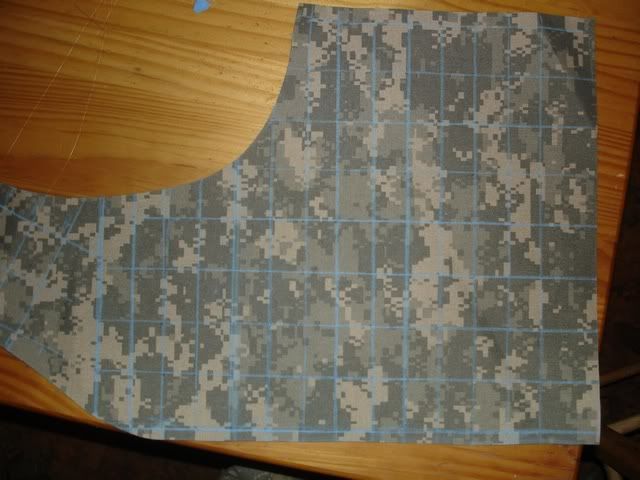
Next I chalked up the back stencil onto 1 piece of 330D UCP Cordura(ACU) Uncoated(Seconds) and 1 piece of 1000D Khaki Cordura(Seconds)(slightly greenish but when ironed the green cast goes away), then spayed very lightly with adhesive sandwiching them together.
I made a large PAL template out of the poster board(which is way to thick to stick a pencil through but i manage).
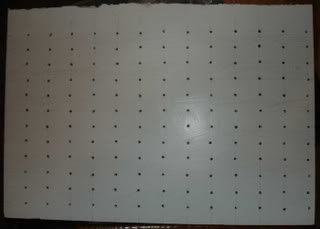
I used the template to put dots on the ACU, and the chalked in the lines.

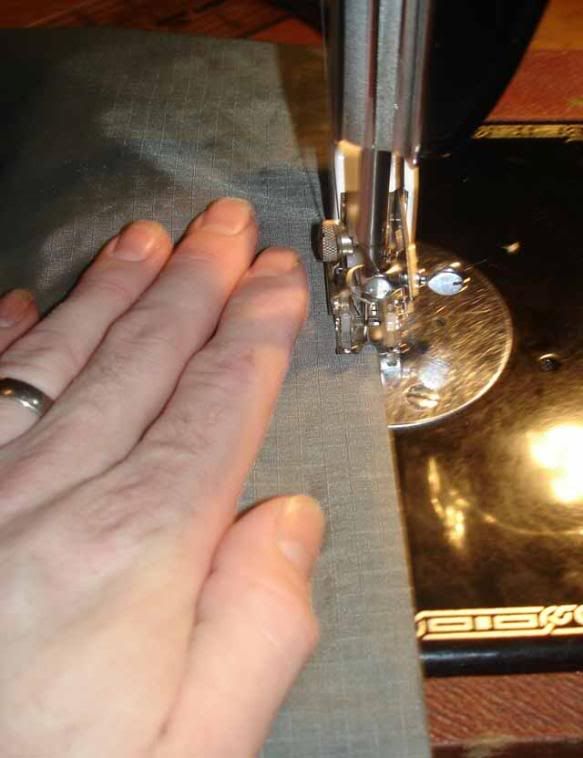
Next I shaped a handle out of some 2 in. Webbing, Coyote Tan, 17337 Class 2 into a shape that I though would distribute the abuse. He wanted it to be a color that would stick out.Then I proceed to make a huge mistake and sew it to the ACU before sewing the handle together.I’m still able to get it all together and one big lesson learned.

Handle is complete.

Back side stitching is ok, the old machine isn’t doing too bad.
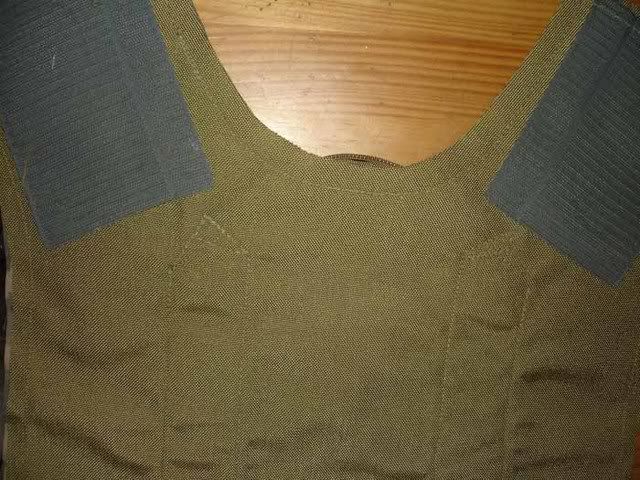
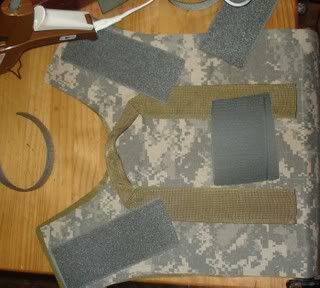
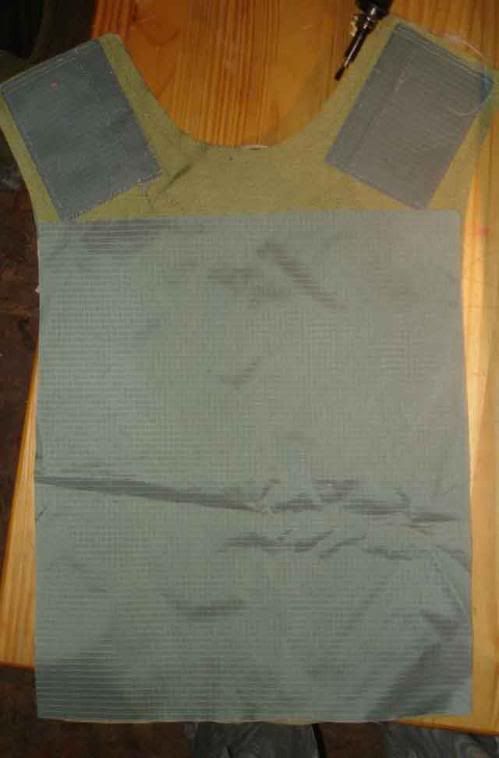
At this point I’m waiting on an order that has thread in it and cant go too much further, so i decide to map out the Velcro.I don’t have 4" so 3"+1" Foliage Green Sew-On will have to do.A few drops of hot glue will hold it there till thread arrives. Velcro in place.
The postman just dropped off a lovely package so I’m off to work on the rest. I would love your criticism no matter how harsh, I’m a grow boy and can take anything anyone can dish out.I already feel kinda awkward making such a large post that I wouldn’t consider to be very military based so let me know if I’m using up to much space. I would love to make ore alter military gear, but am taking my jolly ole time working on anything that comes my way.(which for now since I’m a newb is paint ball/air soft)But hey, its paying for supplies, its paying for a new machine soon, and its an awesome way to learn while still being able to put some of my ideas down.
The postman just dropped off a lovely package so I’m off to work on the rest. I would love your criticism no matter how harsh, I’m a grow boy and can take anything anyone can dish out.I already feel kinda awkward making such a large post that I wouldn’t consider to be very military based so let me know if I’m using up to much space. I would love to make ore alter military gear, but am taking my jolly ole time working on anything that comes my way.(which for now since I’m a newb is paint ball/air soft)But hey, its paying for supplies, its paying for a new machine soon, and its an awesome way to learn while still being able to put some of my ideas down.
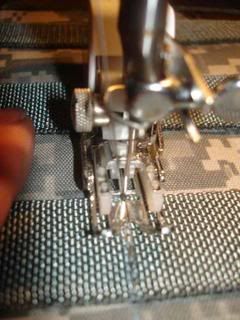
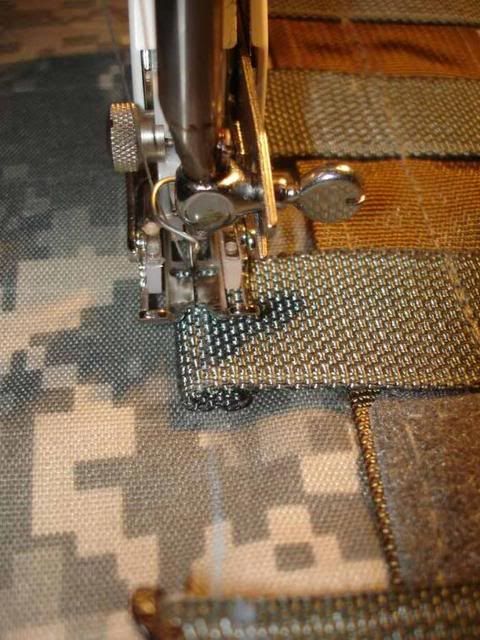
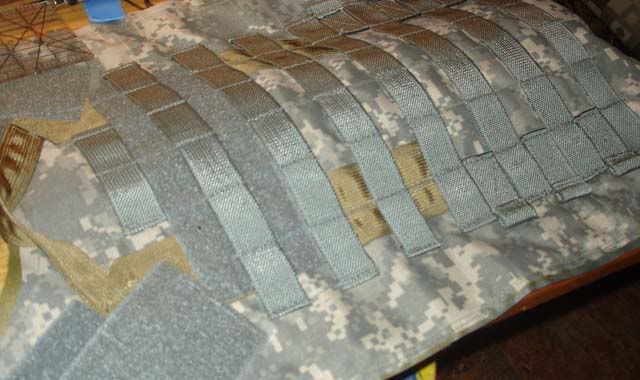
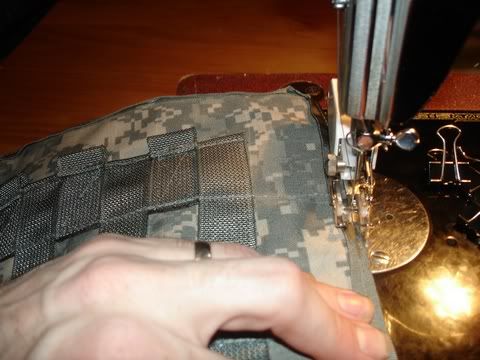
Velcro is stiched down, i found that the stitches can get messed up a bit when they snag the teeth of the Velcro when sewing. From now on I will try to keep an eye on the hook side and keep it in between the channels of teeth.What do you think about shaving down the teeth in a row the stitch is going down?(after all Velcro will snag these eventually so if they are really tight because no teeth are caught under the thread it would last longer) PAL grid is layed out, hot glued down,(2 tiny dots per Webbing)I then chalked the grid over the PAL.(I need all the help staying straight I can get!)

Now I begin sewing the grid. Starting at the center, stitching down the vest,1,2,3 times the lady on the webbing only then down the fabric to the next piece of webbing; repeat. When I get to the bottom I spin the fabric and go up the vest on the next row of stitches.(I found going up and down the piece keeps the PAL grid nice and straight)
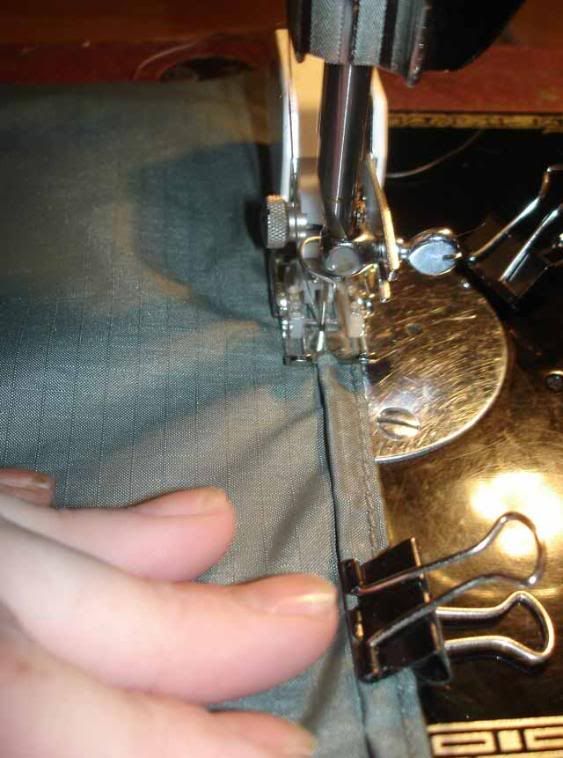
At the edges of the PAL I fold down the first edge and sew into place, then sew all the way up to the line for the next edge(lifting the webbing up)and stop.
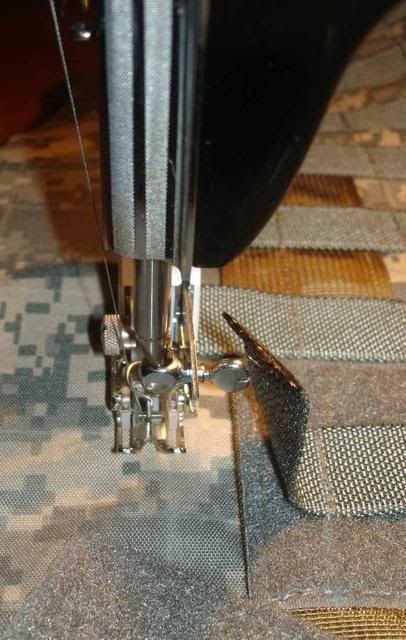
Next I raise the presser foot, fold the webbing, and lay it in place under the foot butting it up to the needle and continue sewing.
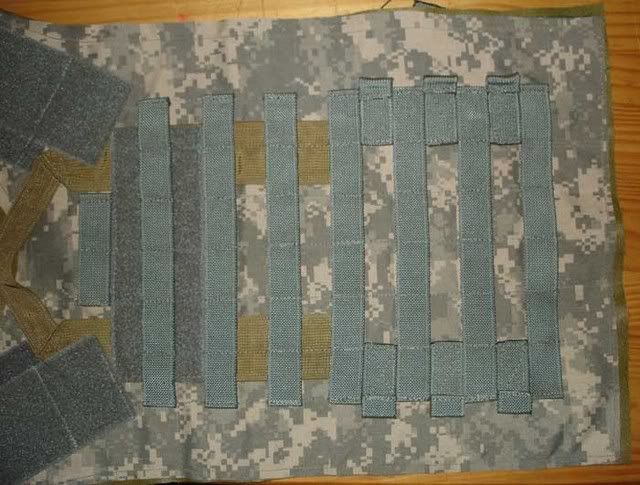
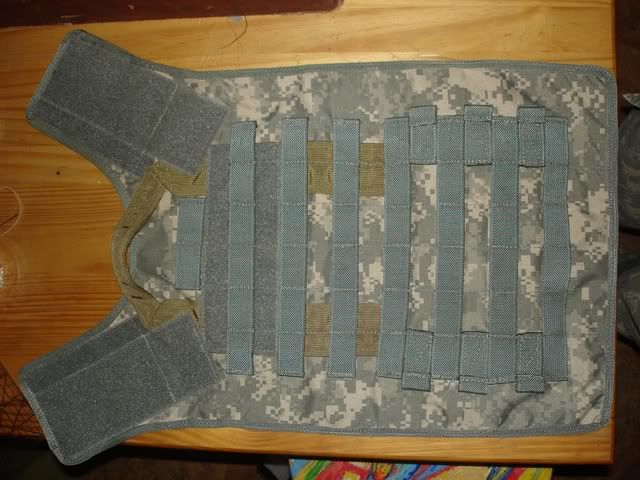
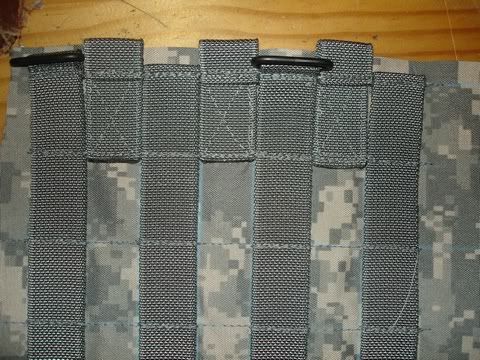
Grid done.
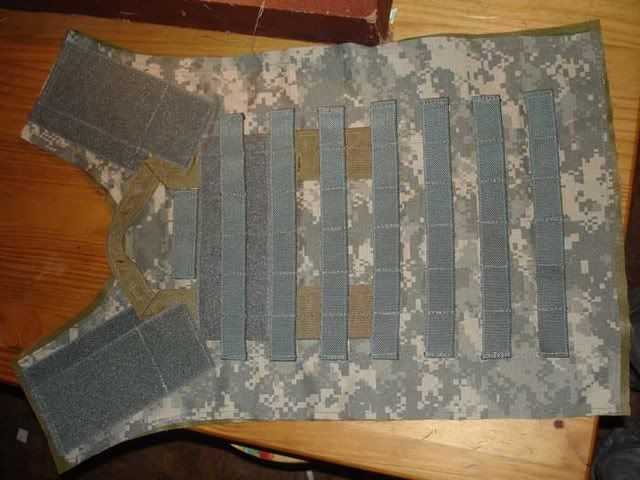
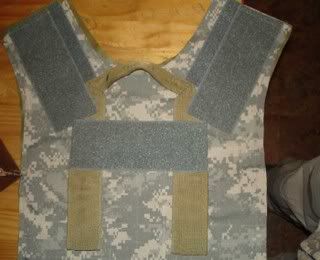
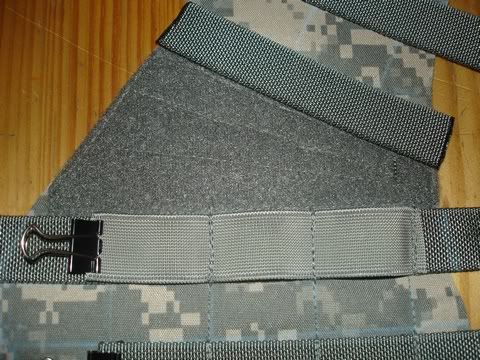
Now were going to add Eyelets in between the PAL, 3 on each side to lace up the vest and give it some adjustment. I start by laying the strips down between the PAL and I xbox them in, going down the ladder to each one.Then I come up the ladder folding the eyelets and sewing them down using the same technique for the grids edges.
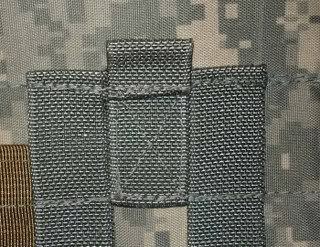

Done.
Next I cut out he liner, sewed the top edge(got a bit of bunching in part cause i ironed it with a little too much heat),and tacked it to the back piece.
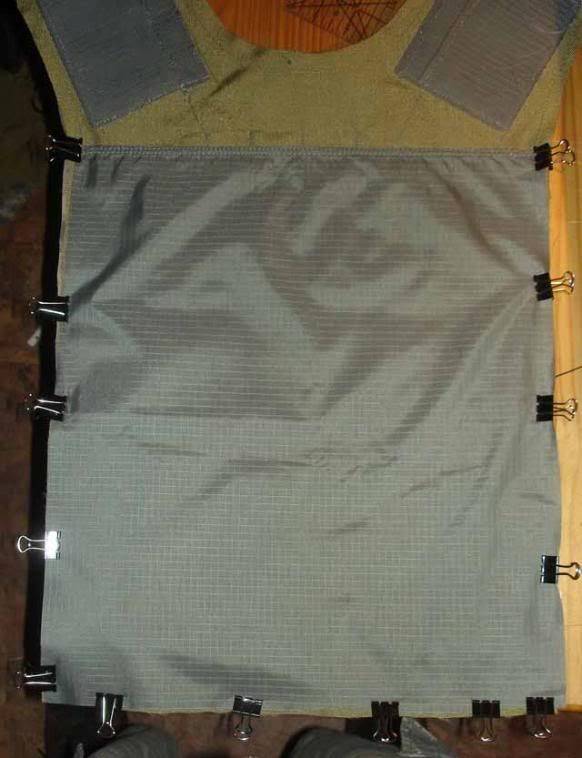
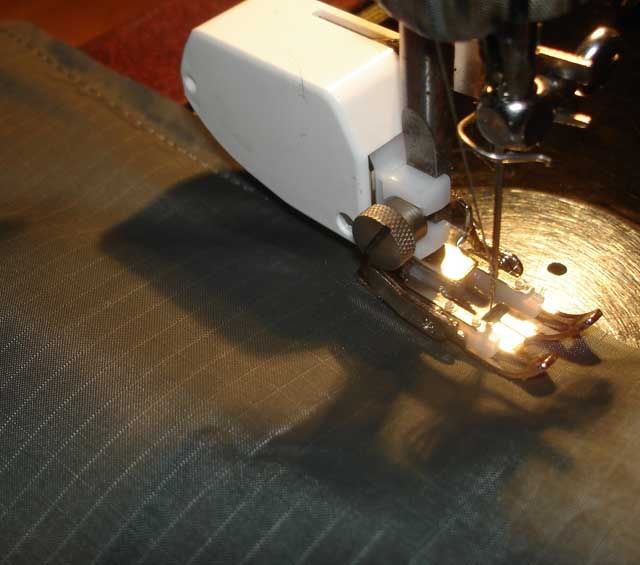

Then I stitched a line down two of the PAL grid rungs to create a channel for an H20 bladder.


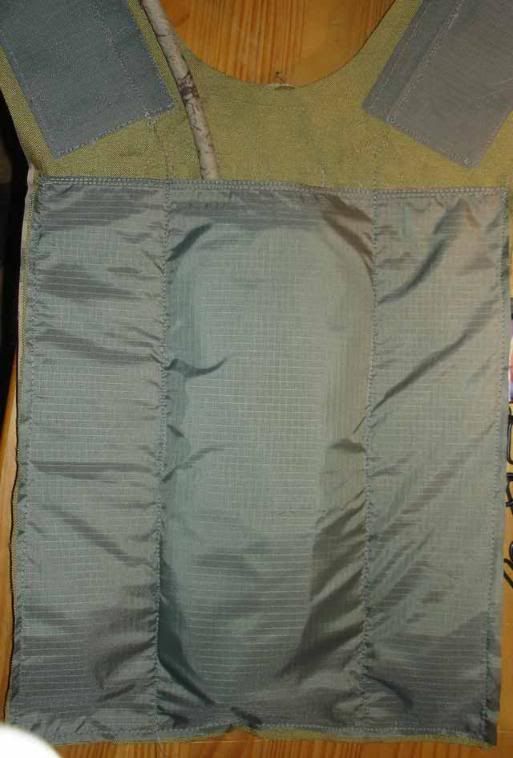
It quite comfy and follows the curve and overall shape of the vest and wearer.
Then I stitched a line down two of the PAL grid rungs to create a channel for an H20 bladder.
It quite comfy and follows the curve and overall shape of the vest and wearer.
Now Time for the 1" Webbing, Foliage Green, 5038 Type III to edge the back piece. It came out well O.K. After hand sewing this on I decide to use double sided tape on the side panels(you’ll see that in a bit). Also I will post a link here to a binding tape how too I will make in a while.


Using the stencils i cut out the left side and chalked out my grid, chalking out a small grid on the radio/shoulder area.

Hot glue everything into place and sew down the grid.

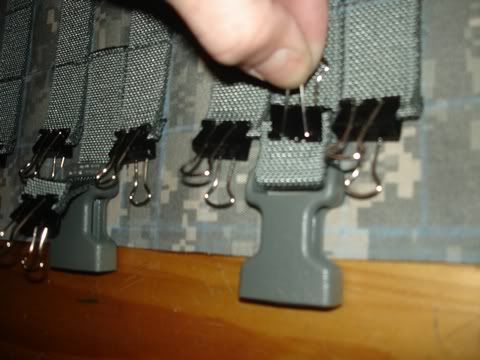
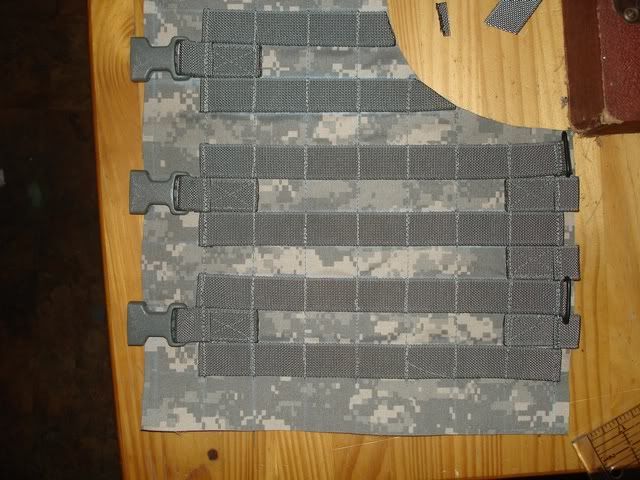
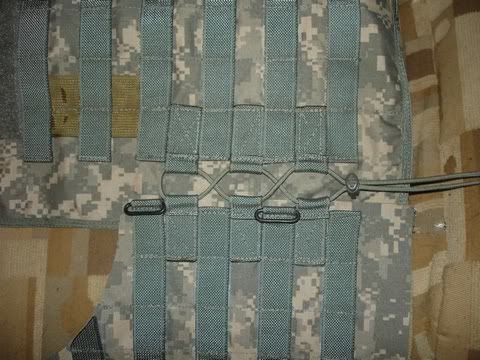
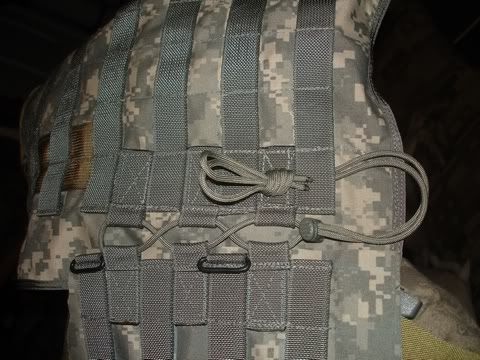
With the PAL grid sewn now i measure and clamp the buckle straps.
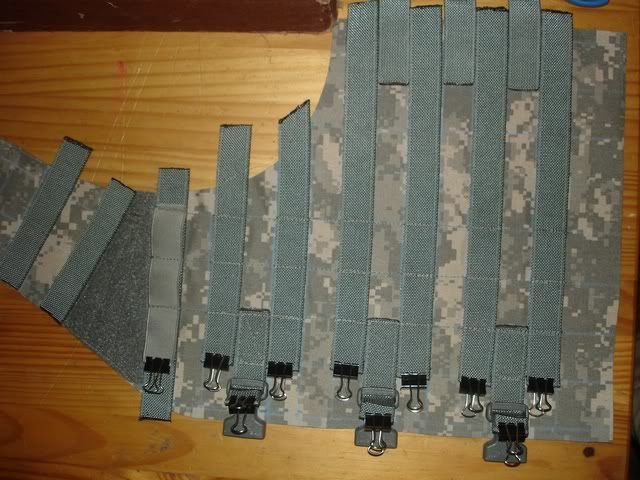
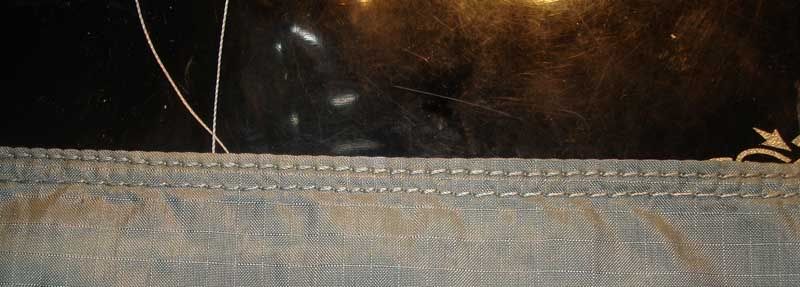
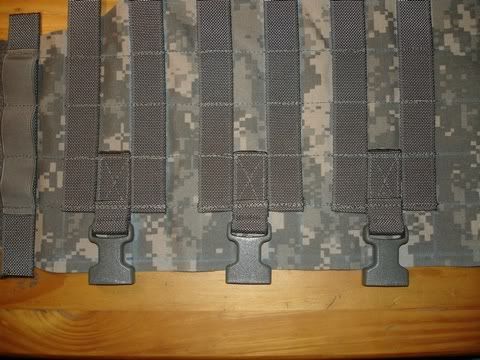
Buckles and eyelets done, stitch count looks good tension good(thank for the tip Diz)


I added a Piece of Elastic for co2, shotgun shells, and what-not.
I used 2 pieces of 2" Velcro like you said Diz, is this what you meant?


I added a Piece of Elastic for co2, shotgun shells, and what-not.
I used 2 pieces of 2" Velcro like you said Diz, is this what you meant?
Heres some pics of the Two pieces laced together.


With each piece I’m getting better and better, again thanks alot guys!
With each piece I’m getting better and better, again thanks alot guys!


0 comentários:
Postar um comentário