Some of you guys have asked me how to make a pack with multiple compartments (like for example, a dedicated laptop/hydration compartment in addition to main compartment, which has become a standard feature of my pack designs)
At some point of the tutorial, you will probably say "oh course, why didn´t i think of that?", because the solution is actually quite simple.. It´s just very difficult to explain without pictures, hence the tutorial.
I will be addressing only the techique of making multiple compartments in this tutorial, not the basics of making a pack.. If you want to know the basics, check out my previous pack tutorial:
If you have never done a pack before and you want to start from this kind of design, then combining this and my previous tutorial should help you make one.
I will be calling the additional compartment in this tutorial, the "laptop compartment". And the main compartment is.. Well… the main compartment.
Although in this tutorial, the additional compartment (the laptop compartment, that is) is not that deep (just enough for a laptop), you can make it how deep you desire.. The same technique applies.
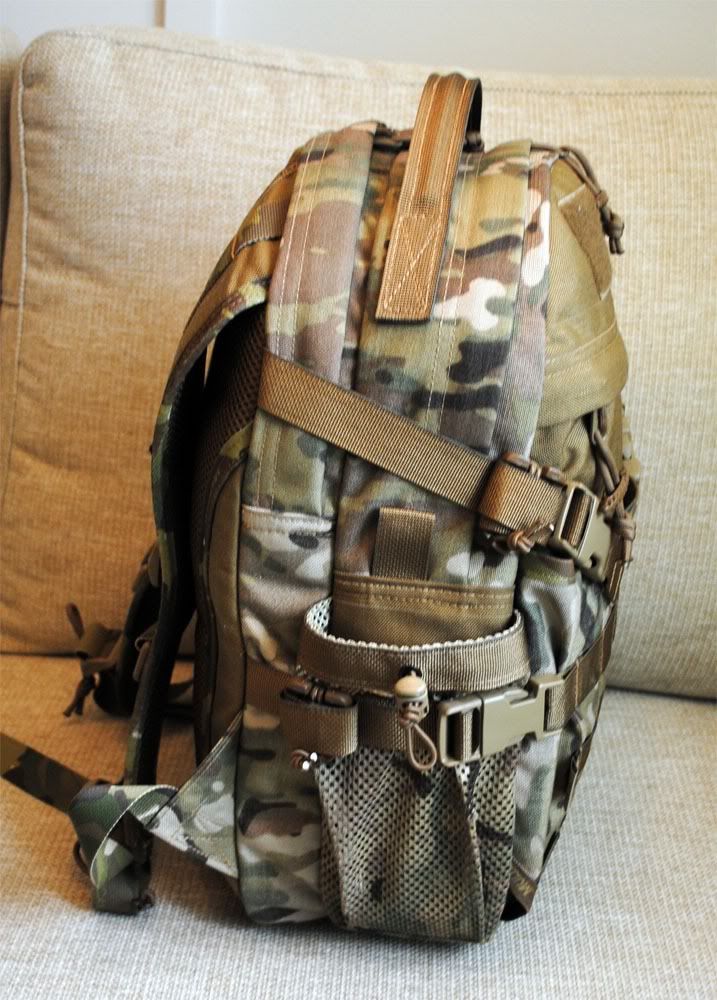
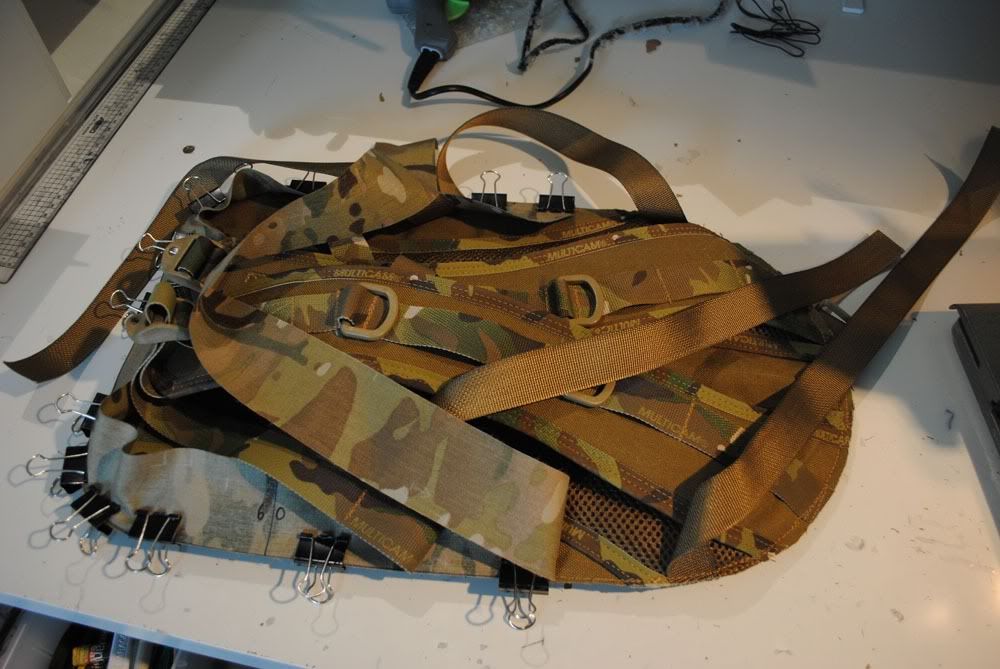
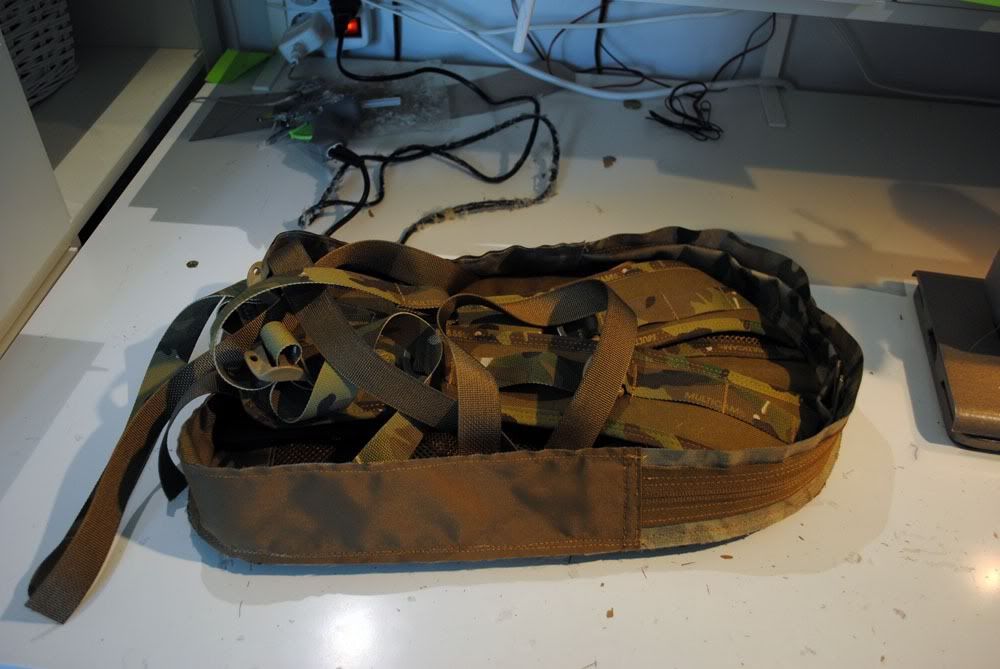
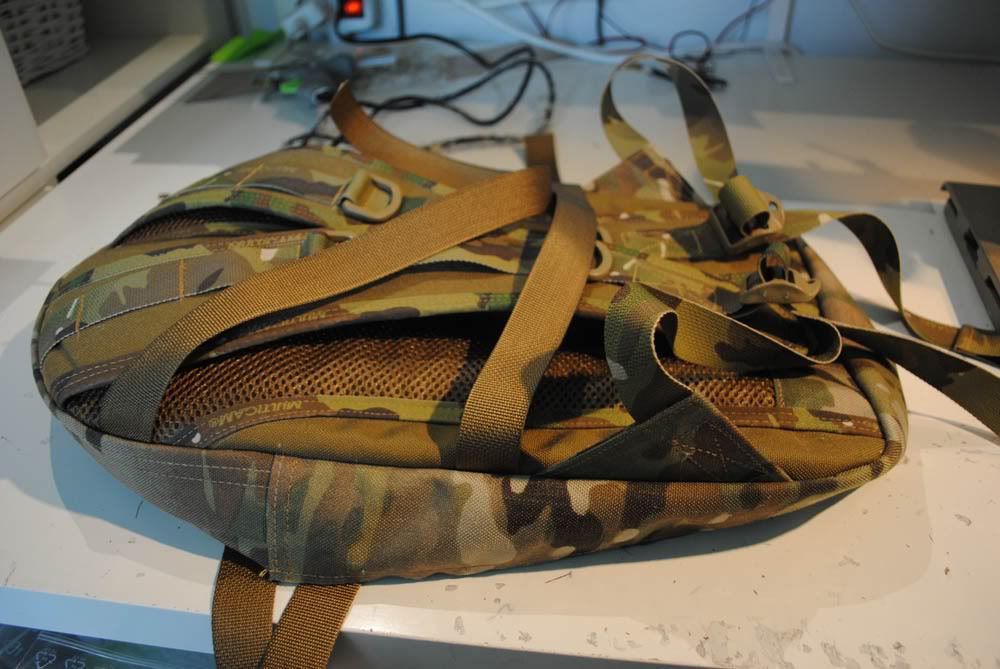
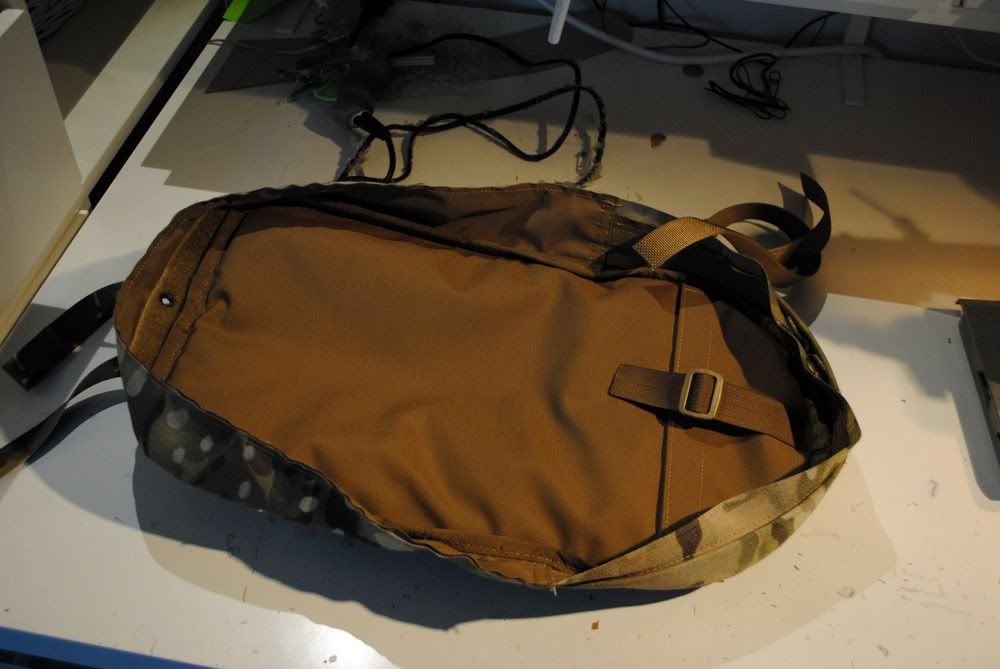
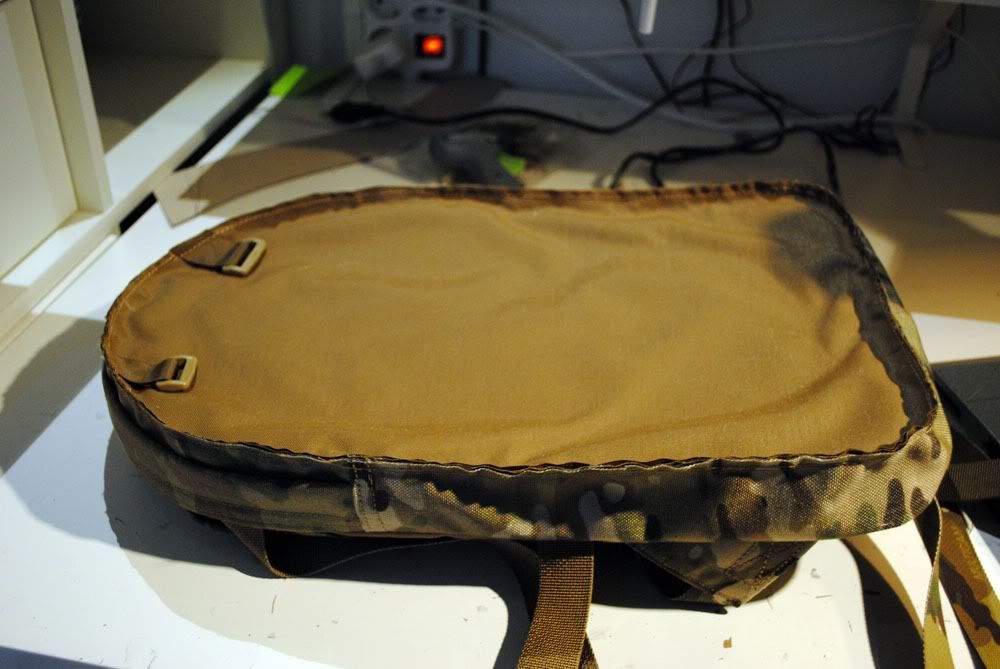
At first take a look at what the end result should look like:

Let´s get started.
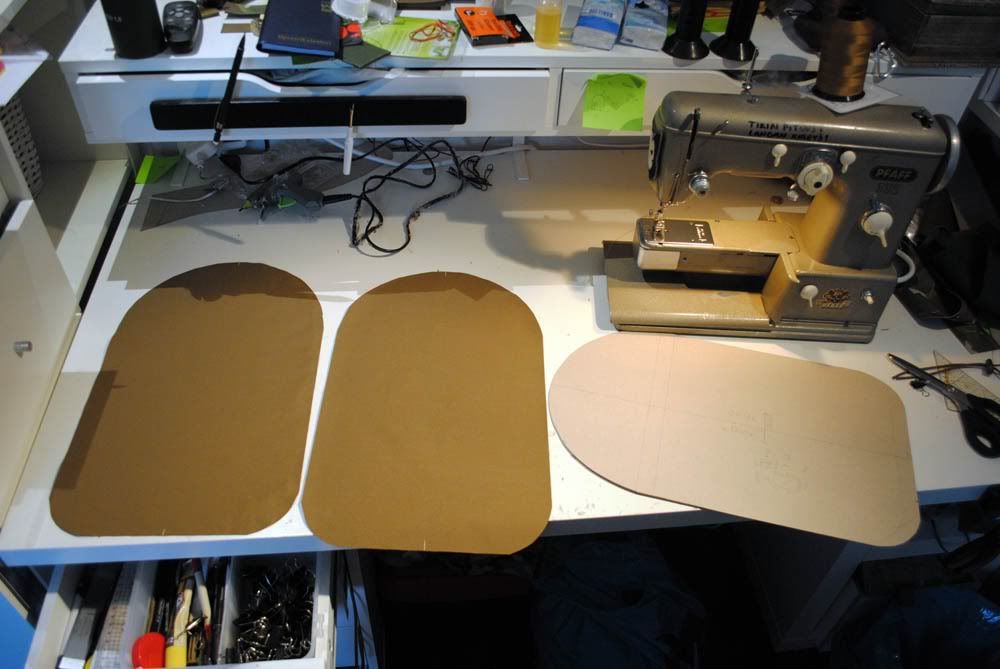
You have to start with completely finishing the backpanel/shoulder strap combination:
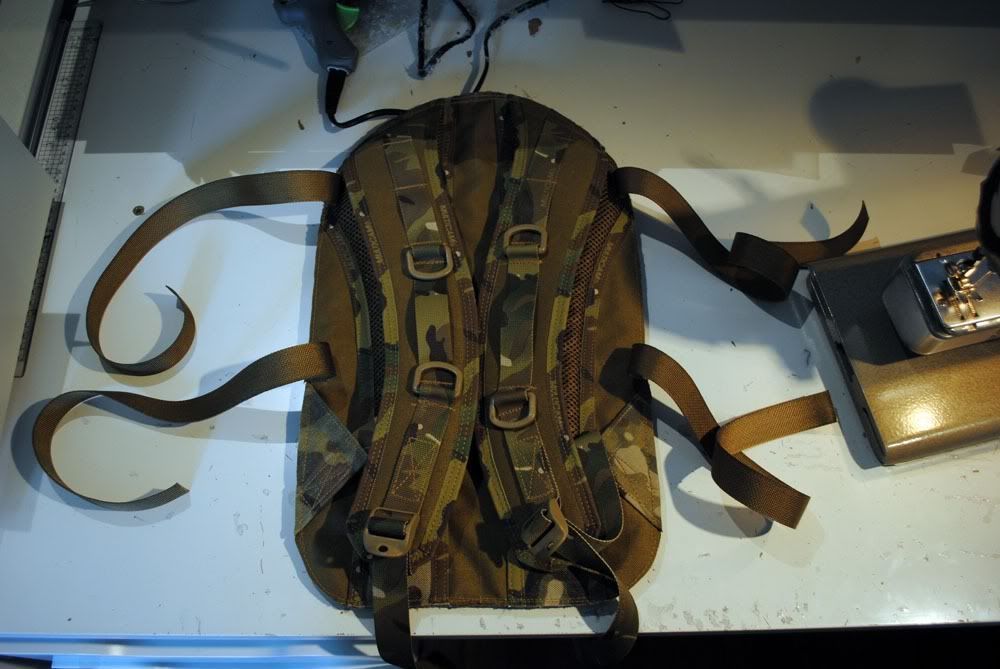
(that pocket in the backpanel is for a frame sheet)
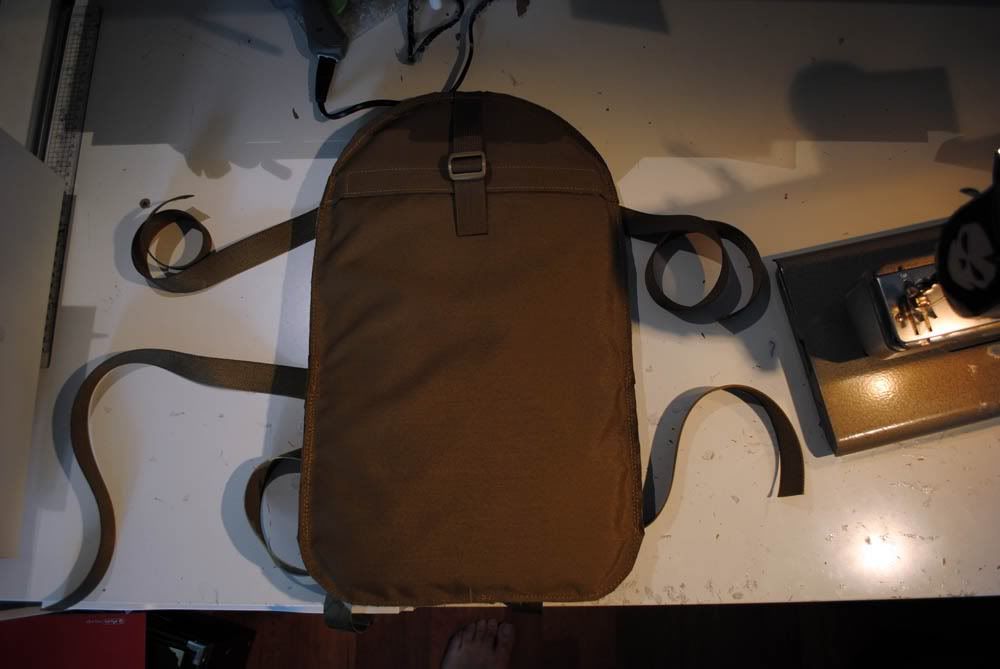
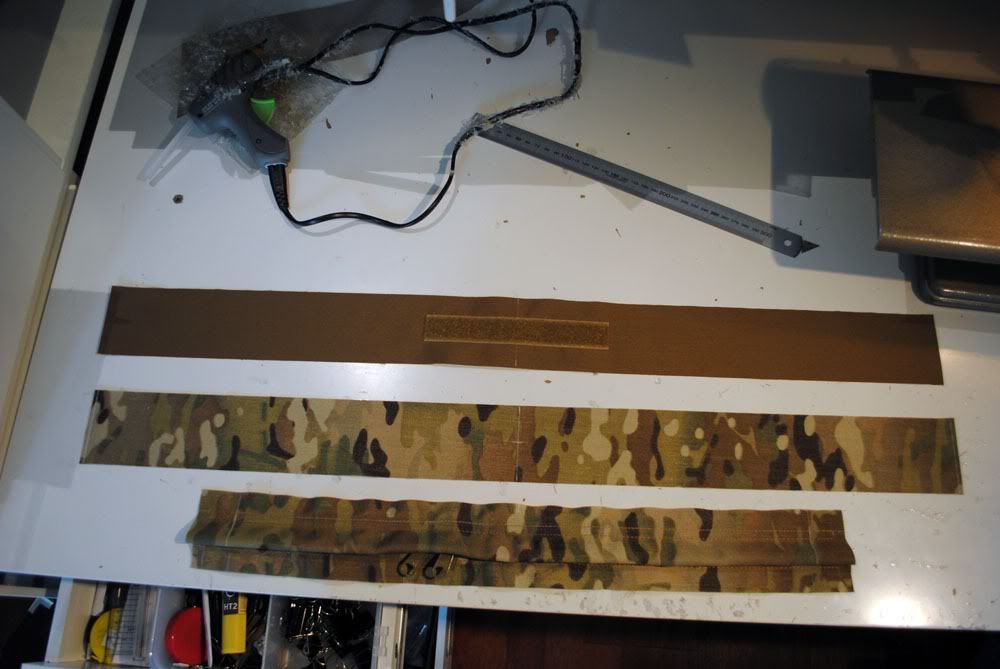
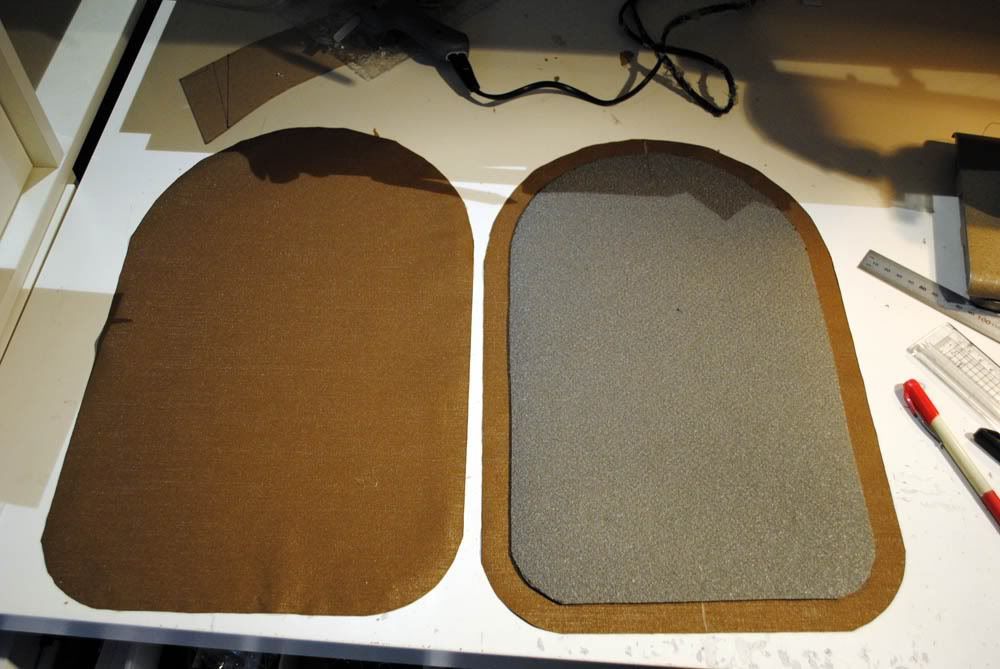
Then you make the center piece for the laptop compartment.
First, you have to determine the zipper length for the laptop compartment, as well as the length of the bottom piece of the compartment
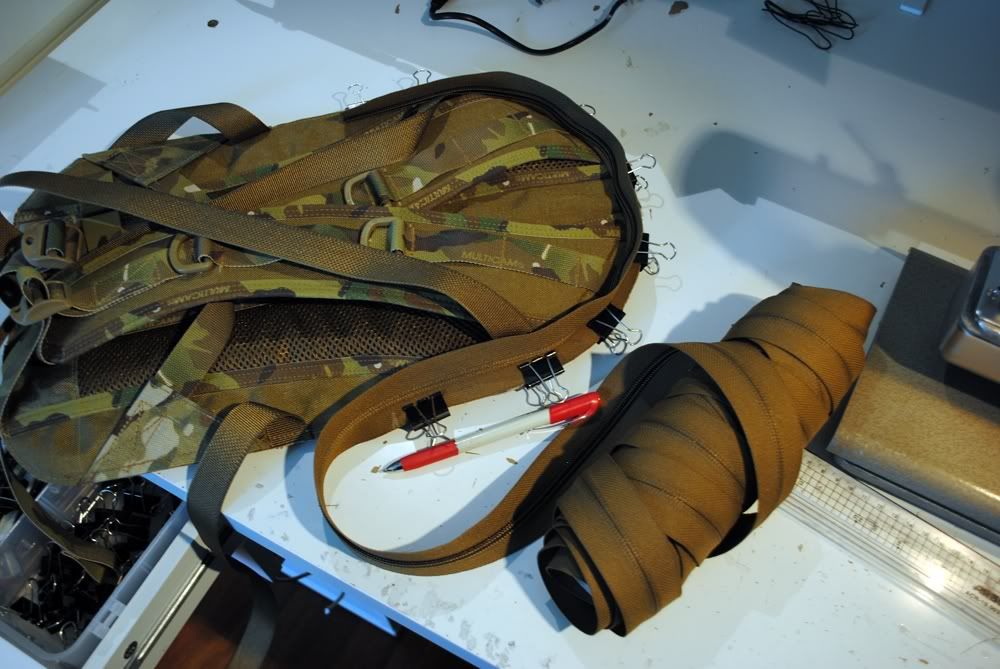
Then finish the top and bottom parts of the compartment. If it´s a laptop you want to carry in it, i recommend you to make a stormflap for the zipper.
At the bottom; the top part, then the bottom part, and on the top, the inner piece for the bottom part (i like to use 2 layers in this kind of applications). The velcro serves two purposes: i will make a small padding for the laptop compartment which attaches into that velcro. The velcro also reinforces the grommet which i will punch through the bottom part later on.
[img height=535 width=800]
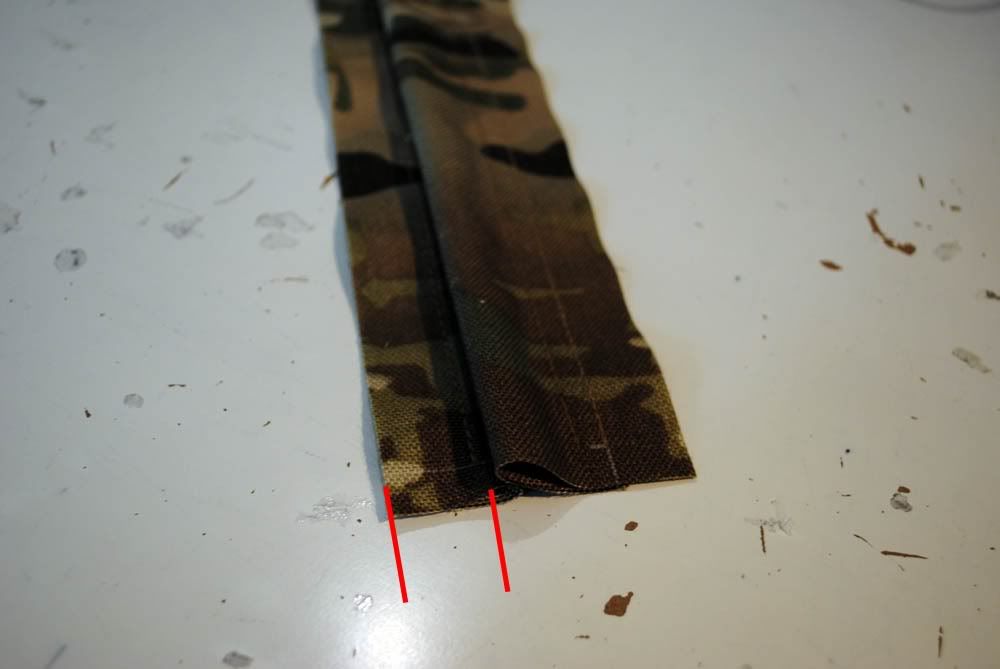
Notice; I you make a stormflap for the zipper, make sure that the edge of the stormflap does not go over your seam allowance on the opposite edge.. Or you will have a problem when sewing the pack together.
[img height=535 width=800]
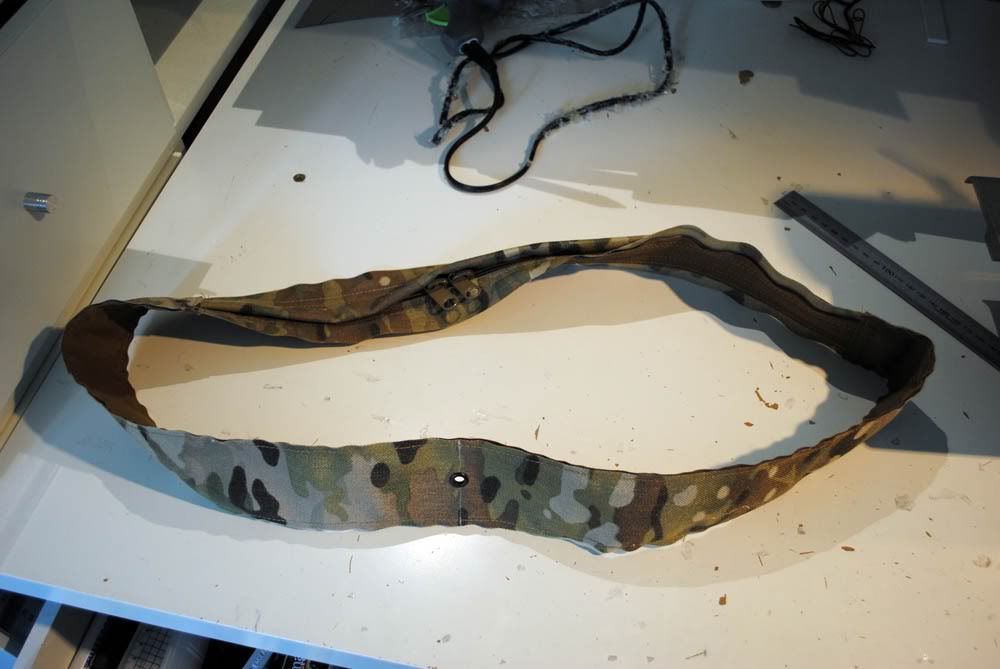
Top and bottom parts sewn together and the grommet punched though. The center piece is now ready.
[img height=535 width=800]
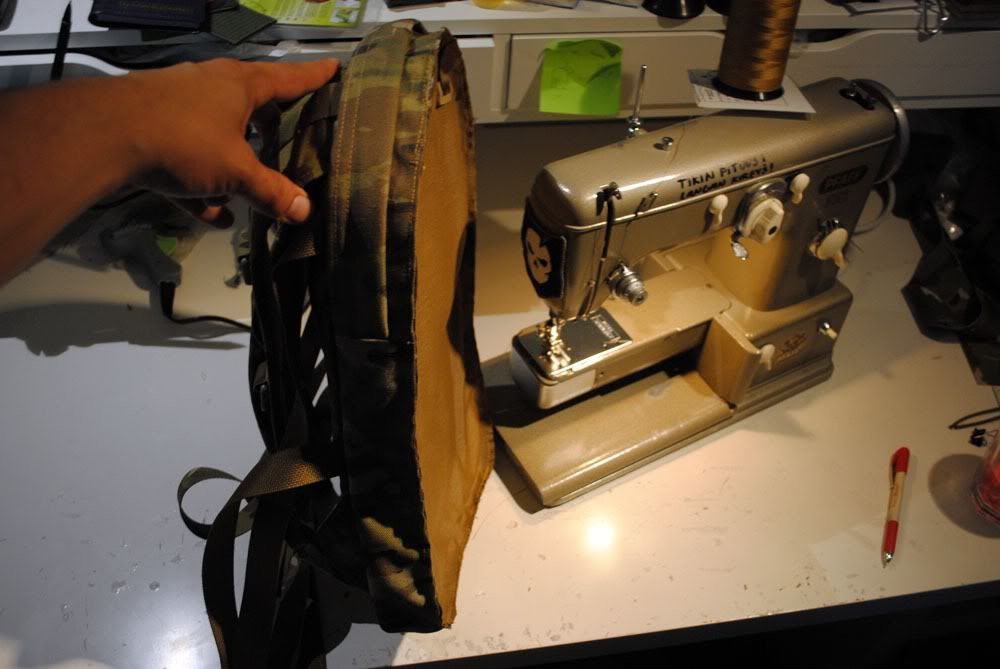
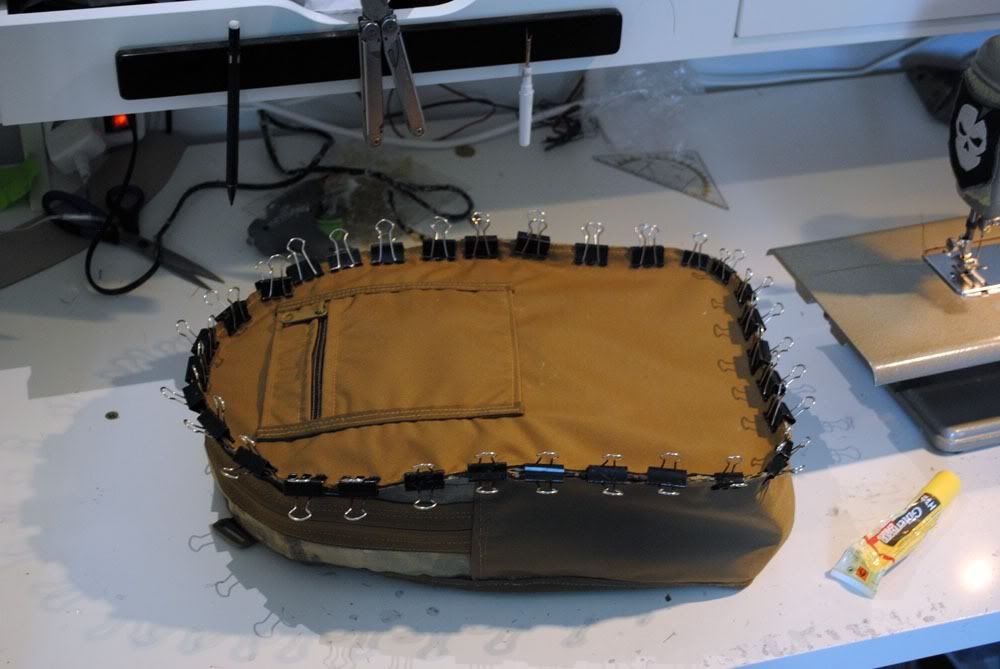
Attach the center piece into the backpanel with one line of stitches (notice that it has to be "wrong side out")
[img height=535 width=800]
Then, turn it right side out, check the seam. If you have a wrinkle in the seam, it´s easy to fix (because so far, there´s only one line of stitching holding the center piece and the backpanel together)
[img height=535 width=800]
If you are happy with how the seam looks, turn the center piece back to wrong side out, sew a second line of stitches and sew down the binding tape as well. When you are finished, turn the center piece back to right side out.
[img height=535 width=800]
Now you have to make the wall that separates the laptop compartment for the main compartment.. If you want to, you can use a single layer of cordura.
I usually like the wall to be very slightly padded (3mm closed cell foam), so i´m using two layers of cordura. Use the template that you used for the backpanel, but notice that the piece you will cut with that template, will probably be too big (because the backpanel shrinks when you sew it). That´s why you have to try it on first.
[img height=535 width=800]
I had to shorten the piece that i cut using the backpanel template, with 1,5 cm
[img height=535 width=800]

Then there´s the padding.. Make sure to leave enough seam allowance
[img height=535 width=800]
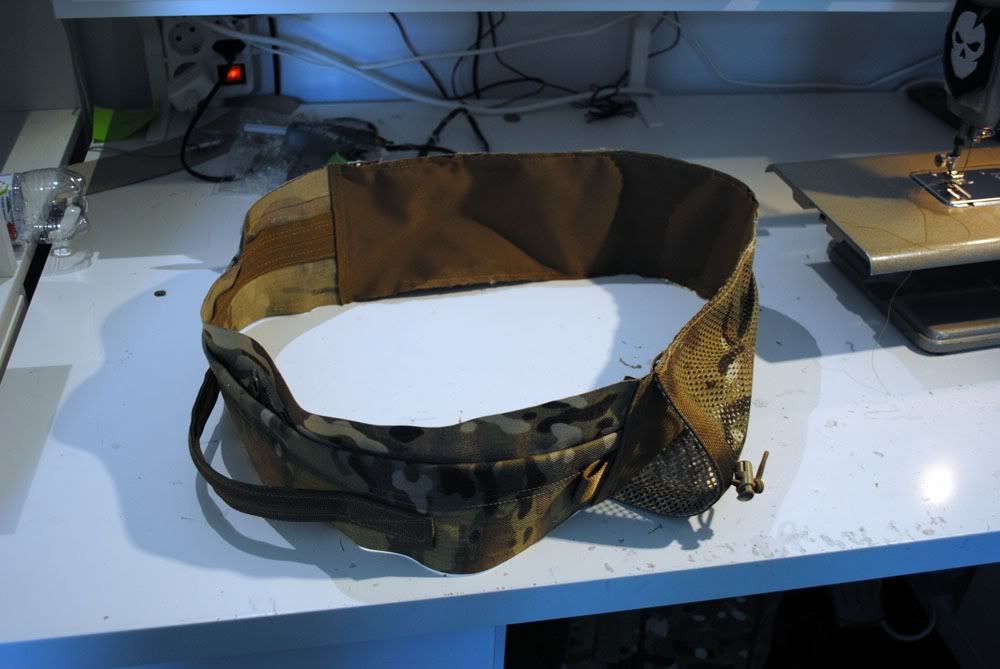
When you have completed the wall, sew it into the backpanel/laptop compartment. You only need one line of stitches at this point because there will be more later.
Notice that the wall facing out in this picture, will be what you see when you open the main compartment of the finished pack.. So you might want to make a organization pocket in it, or maybe sew down some Pals or velcro in it(?) I decided to go with just a plain wall, with the exception of those two loops locks at the top, which are for TAD molle panel.
Also notice that the center piece is right side out, not wrong side out like it would be, if you were making a single compartment pack.
[img height=535 width=800]
[img height=535 width=800]
When you have reached this far; Congratulations; you have just finished the laptop compartment.
(By now, you have probably figured out of how the rest of the pack goes..)
(By now, you have probably figured out of how the rest of the pack goes..)
Finish the center piece of the main compartment
[img height=535 width=800]
Sew it into the backpanel/laptop compartment with wrong side out
[img height=535 width=800]
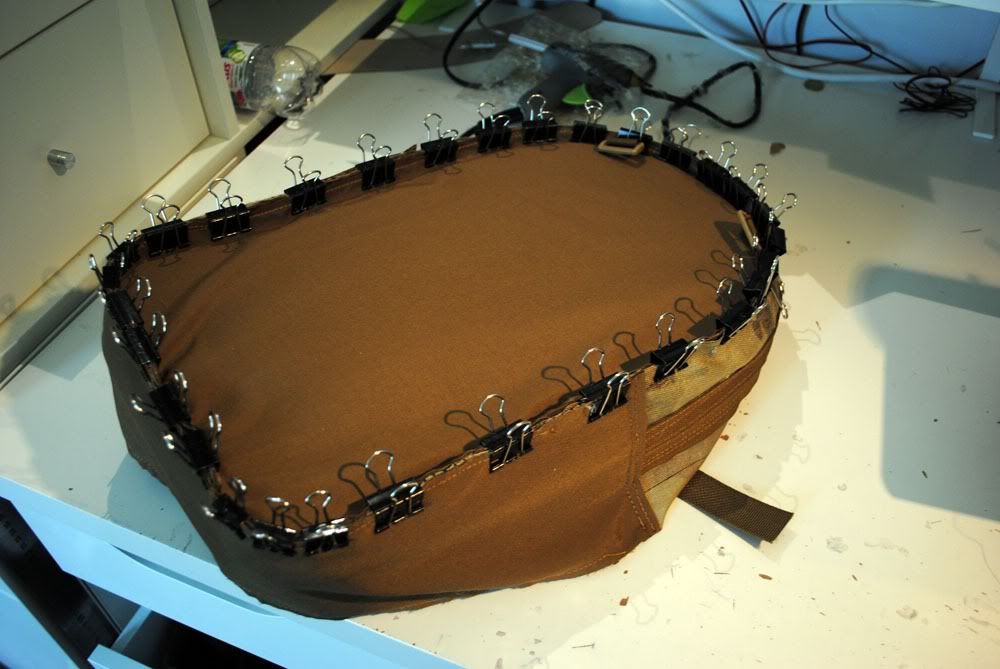
Turn it right side out, and check the seams: If you are happy with the seams, turn it back wrong side out, apply the second and third line of stitching (along with the binding tape)
[img height=535 width=800]
Then, turn the center piece of the main compartment back to wrong side out, and attach the finished front panel into it. Sew the first line of stitches, turn the pack right side out, check that everything is ok, turn it back wrong side out, apply the second and third line of stitches (along with the binding tape)
[img height=535 width=800]
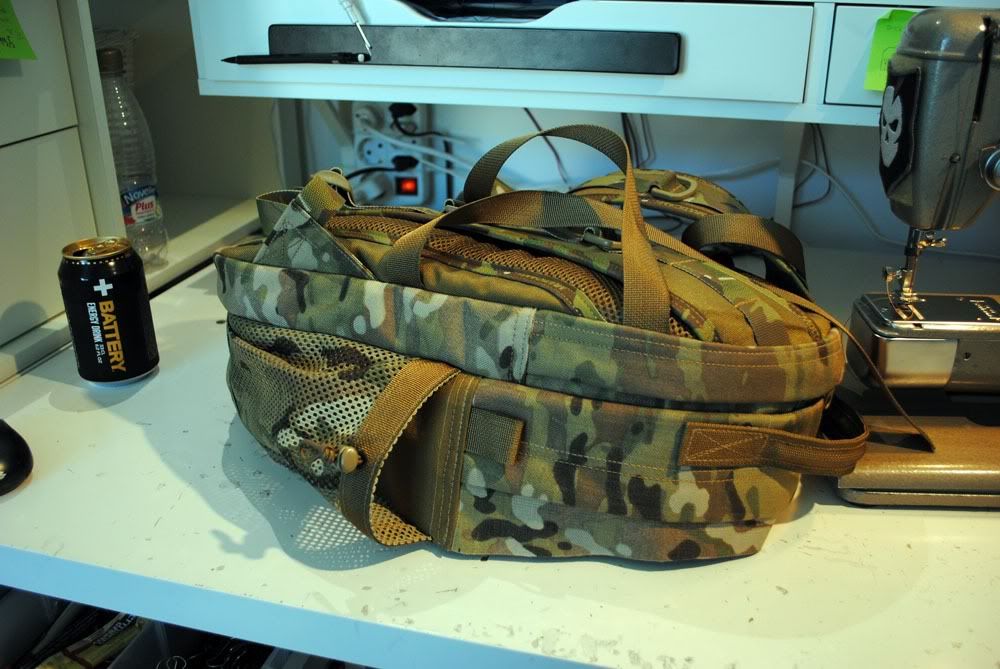
Then you just turn the pack right side out for the final time, and you´re done:
[img height=800 width=573]
Like i said, it´s a lot more easier that looks, at first.
If you want the pack to have more than just two compartments, the simply make the additional compartments like the way i made the laptop compartment here.
So with a 3 compartment pack; you have to finish the backpanel/laptop compartment, AND the frontpanel/additional compartment first.. Then you make the middle compartment and and it together.


0 comentários:
Postar um comentário