I purchased a molle cargo pouch sight unseen because it was so cheap online. When I got it I realized why. The fabric was really flimsy -maybe 420d uncoated, that and the pals grid was jacked up. So I decided to tear it down and make my own using the measurements for my template.
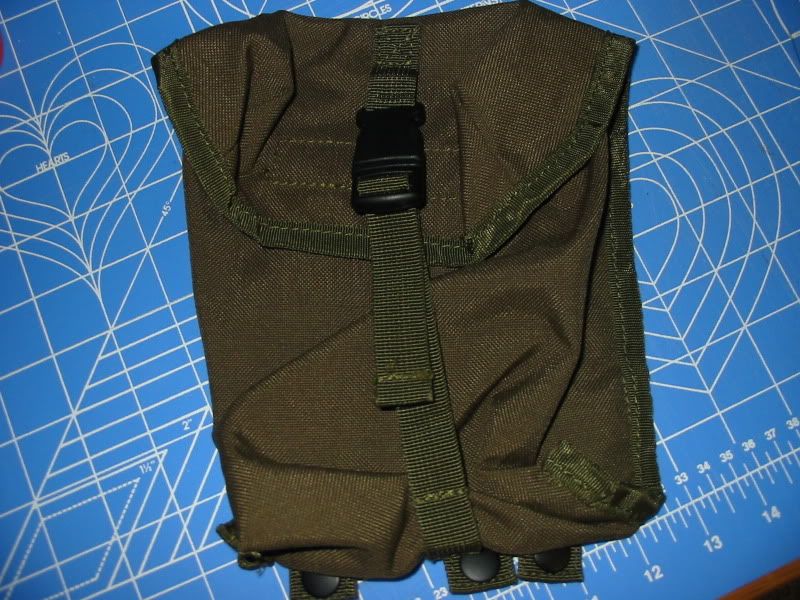

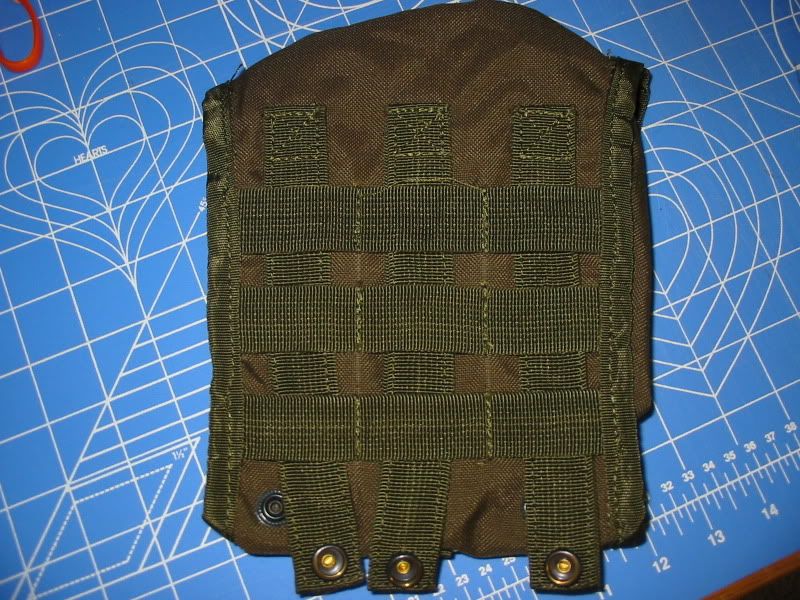
Pals grid mess. Isn’t it supposed to be 1" spacing?
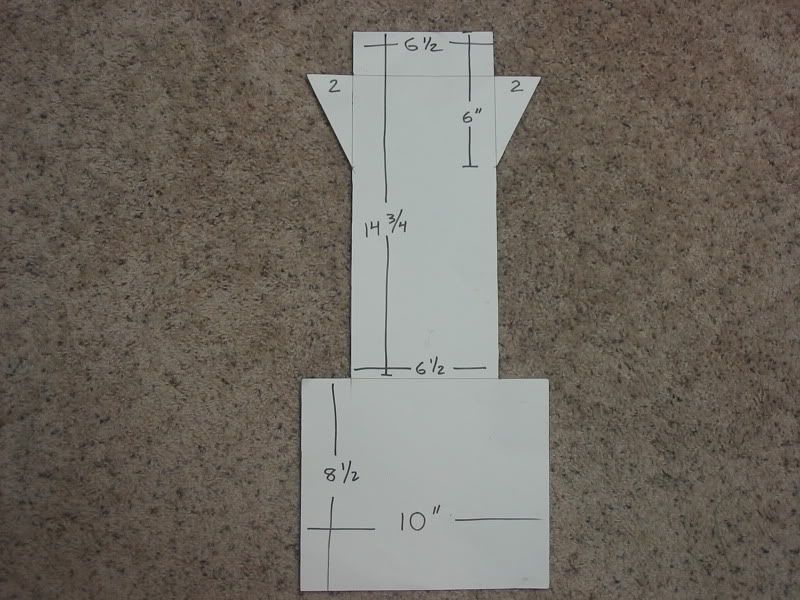
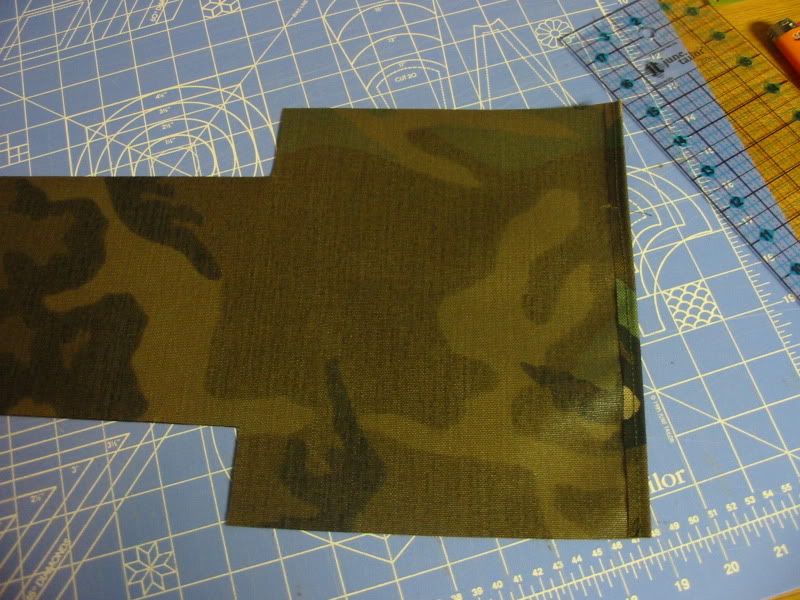
Pattern made using poster board.
On the pouch side I folded 1/2 over and sewed. Looking back I think I should have stitched it twice or ran it through the binder. I used 1000D coated cordura for the body.
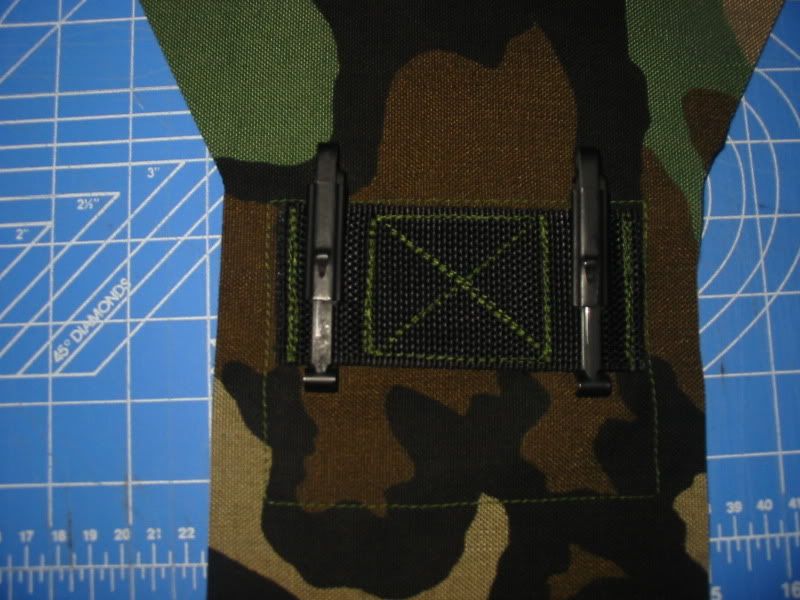
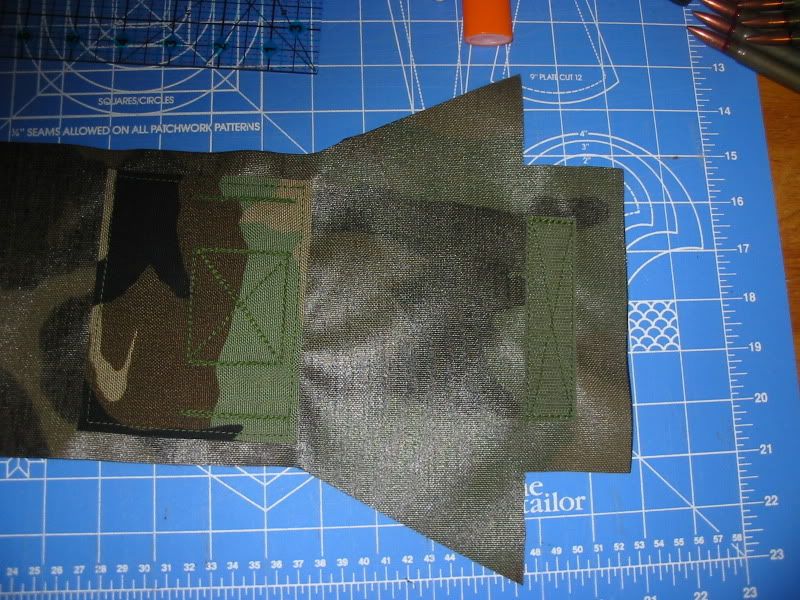
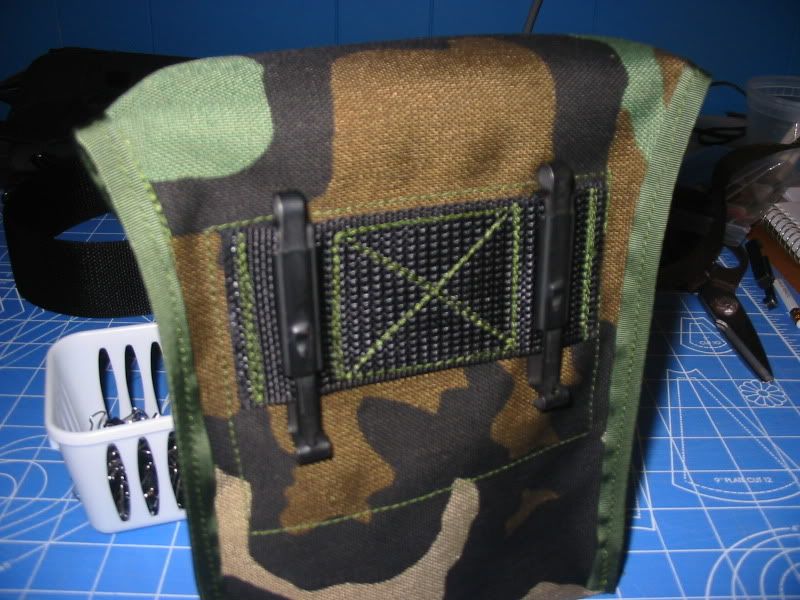
I decided to make it fit my old ALICE gear so I added a 4×5 reinforcement to the inside for the exterior webbing to attach to. I measured 6 1/2 from the edge in.
I used 2" scuba webbing 4" wide to mount the ALICE clips to.
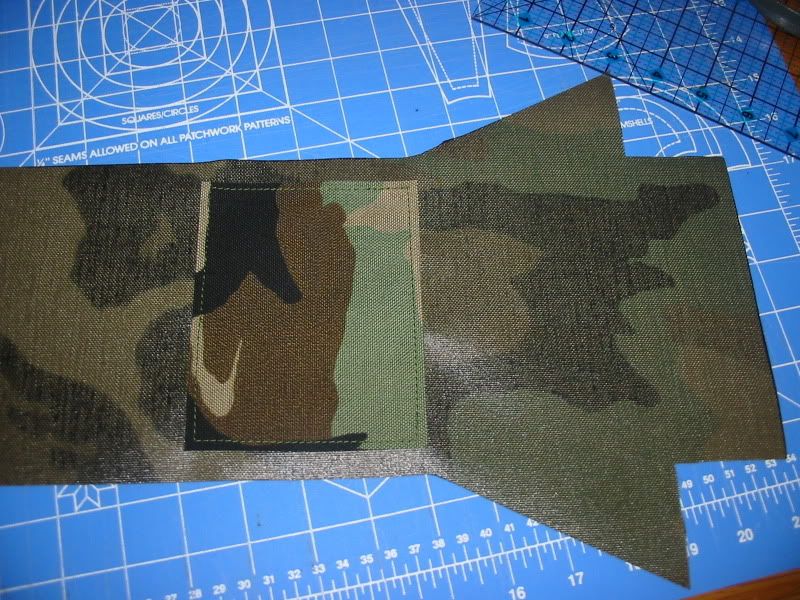
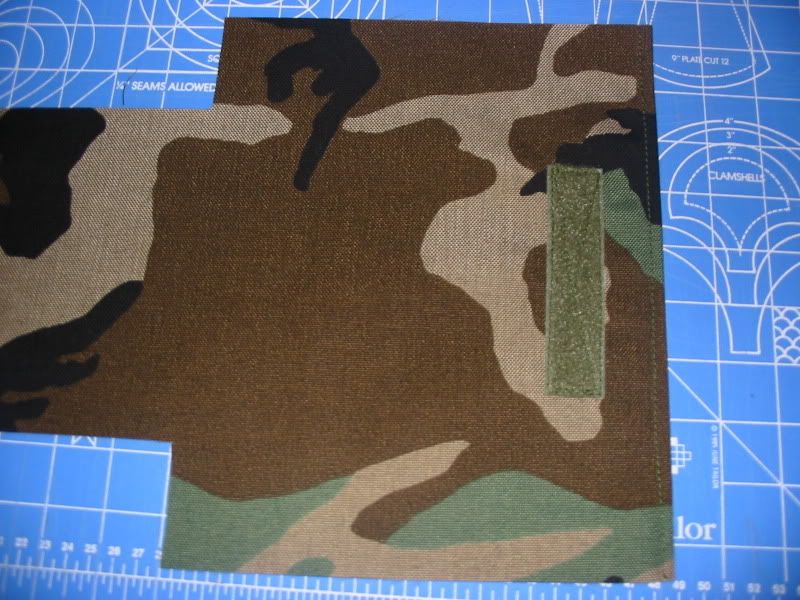
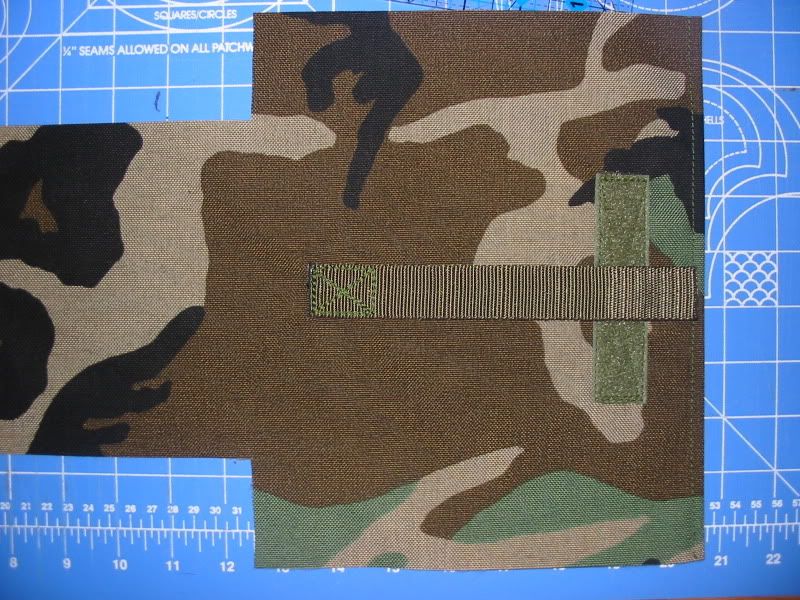
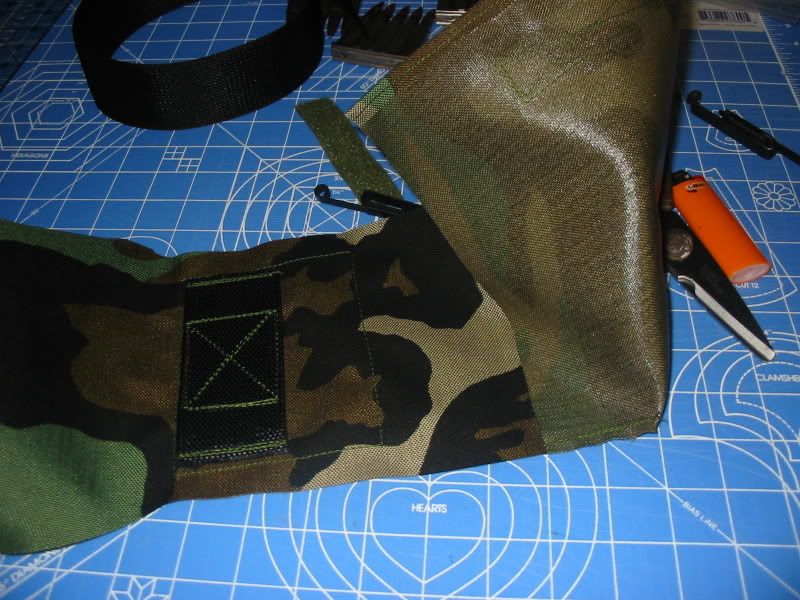
On the outside of the pouch I sewed a 4" strip of 1" loop 1" down from the edge.
For the outside webbing I used a 7" piece of webbing centered on the front measured 7" down from the edge.
For the lid velcro I measured 1" in from the edge and centered.
I then sewed the lid edges together with the seam on the inside.

I did the same with the bottom.
I then used binder clips to hold the sides together for sewing. I only ran a single row of stitching for the side which I thought would be sufficient given I would bind over the top of it. In retrospect I am not sure this will be very durable. Thoughts?
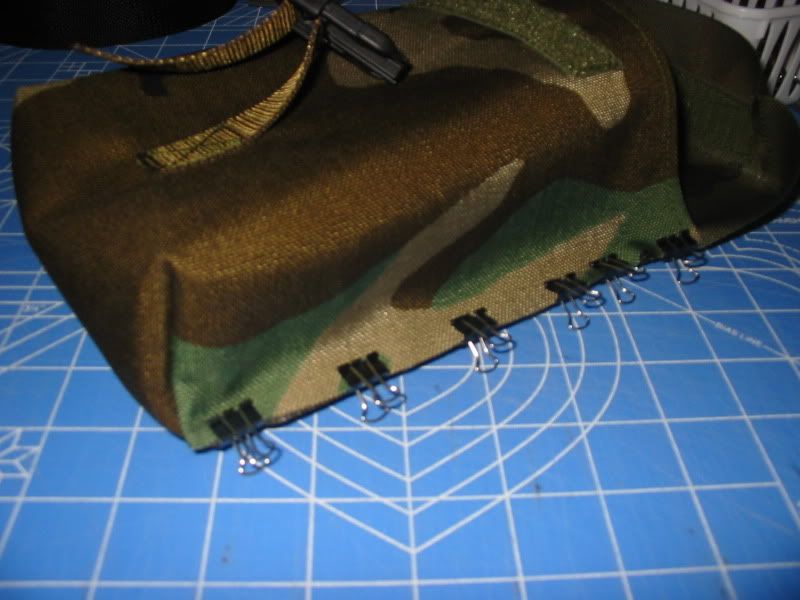
All set up for binding with a continuous piece of tape with the ends folded under.
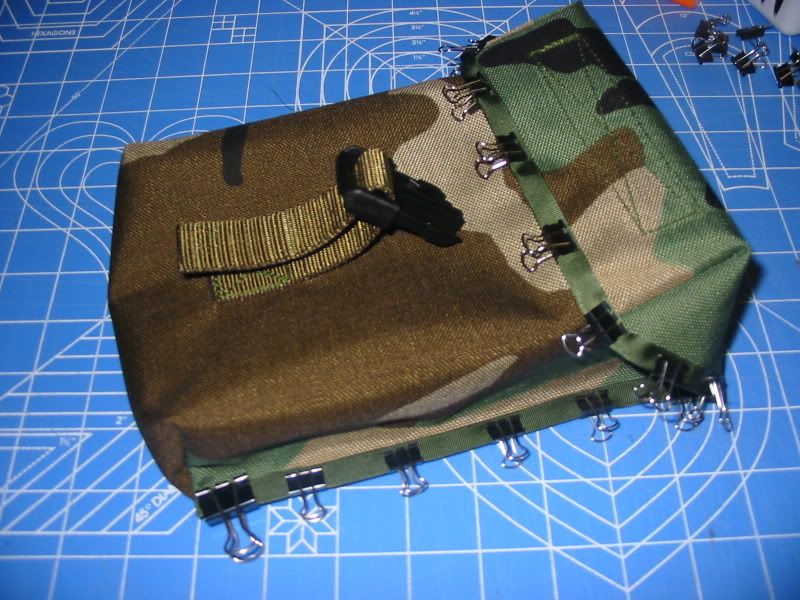
I then sewed a 3" strip of webbing the hold the female end of the buckle to the lid. I centered it up and attached it with 2 bar tacks.
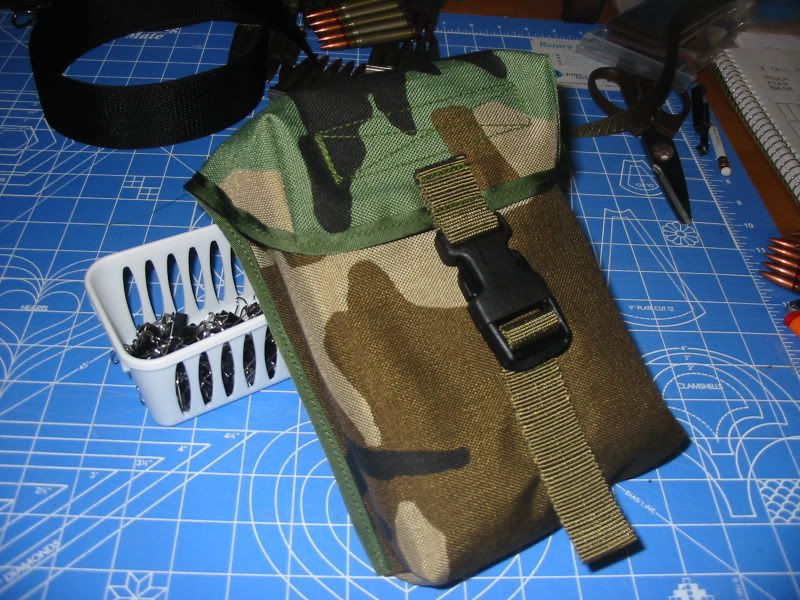
And the backside. Turned out pretty good I think. Any and all feedback and criticism is welcome fellas.


0 comentários:
Postar um comentário